Self adhesive flashing membrane for windows, doors and wall penetrations
What a self adhesive flashing membrane does
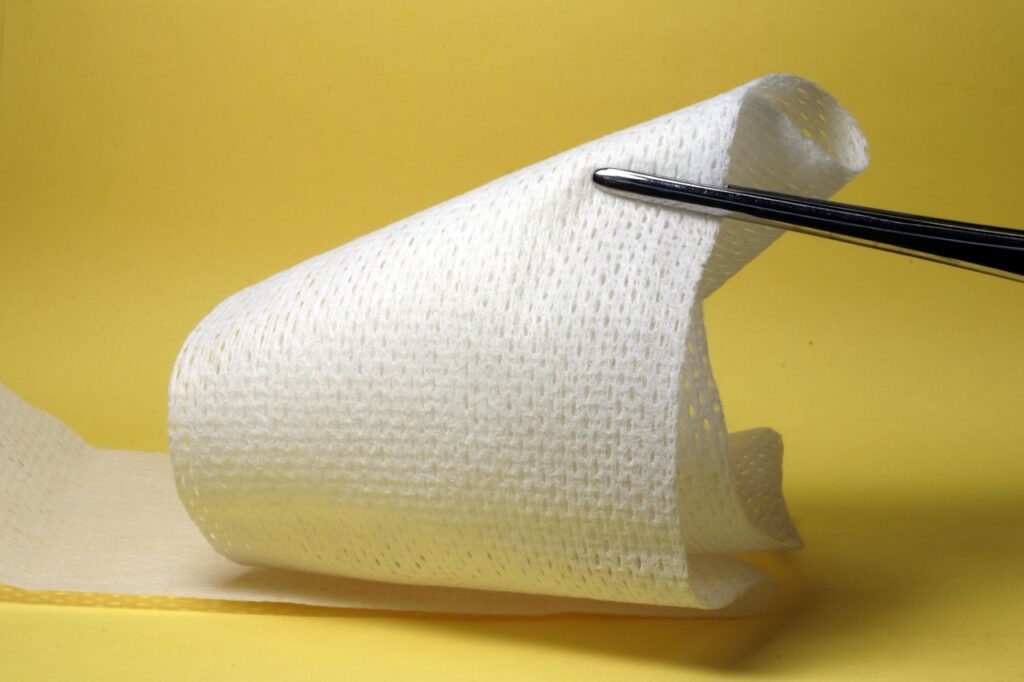
A self adhesive flashing membrane is a peel-and-stick sheet that directs incidental water out of a wall assembly before it reaches framing, sheathing or interior finishes. It is commonly installed around windows, exterior doors, deck ledgers, pipe penetrations, wall-to-roof transitions and other breaks in the drainage plane. Its job is not just to adhere to a surface. It must form a continuous, lapped water-control path with the water-resistive barrier, cladding drainage space, pan flashing and head flashing.
On a building envelope, the membrane should be specified and installed as part of the water-management system, not treated as a repair tape. Model code language, fenestration installation standards and building-science guidance all start from the same assumption: water can get behind cladding, so flashing has to collect that water and discharge it outward without trapping it inside the wall.
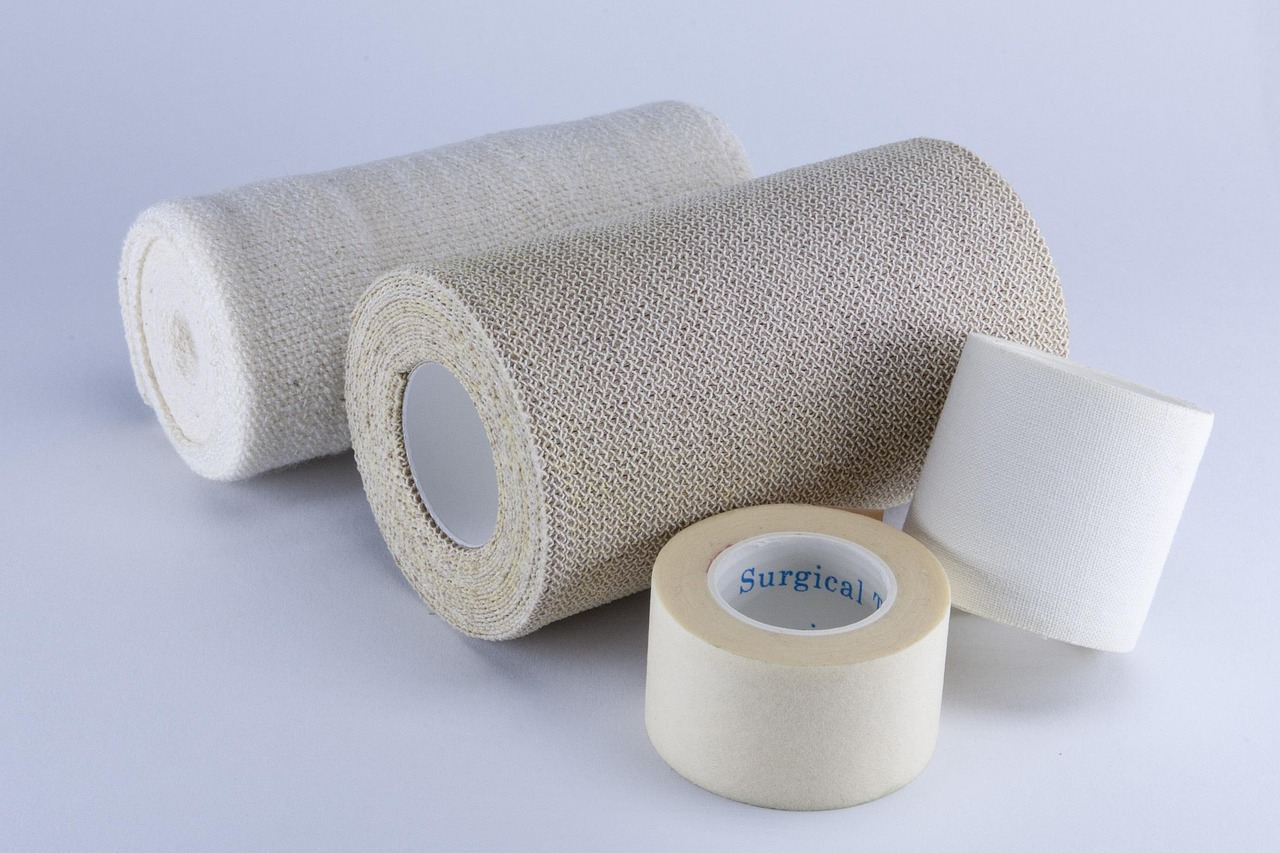
For readers comparing related sheet products, membranes and accessories, Realloong’s membranes section provides more building-envelope context.
Where self adhesive flashing membrane is used
The most familiar application is around flanged window and door openings, but the same principle applies wherever the wall’s water-control layer is interrupted. The membrane is normally concealed after cladding is installed, so sequencing matters. Once the wall is closed, a missed lap, unrolled edge or incompatible surface may be hard to inspect and costly to correct.
Windows and exterior doors
At windows and doors, self adhesive flashing membrane is commonly used at the sill, jambs and head. The sill is the critical location because it must manage water that may pass the window unit, cladding joint or exterior sealant. Building Science Corporation guidance emphasizes that pan flashing should be able to drain to the exterior. In practice, the sill should not be sealed in a way that blocks drainage unless the window manufacturer’s tested instructions require a different detail.
A typical sequence is sill or pan flashing first, then the window or door unit, then jamb flashing, then head flashing, followed by integration with the water-resistive barrier above. The exact detail depends on the opening type and wall design, including whether the window is flanged, non-flanged, inset, outboard of the sheathing, surrounded by exterior insulation, or installed in a commercial punched opening.
Penetrations and transitions
Wall penetrations such as vents, pipes, electrical boxes and brackets also need a continuous water-control path. Self adhesive membrane can bridge from a penetration flange to the drainage plane, but it should not be used to compensate for poor slope, missing drip edges or unsupported joints. At wall-to-roof intersections, deck ledger areas and similar transitions, metal flashing, liquid-applied flashing and self adhered membrane may be combined. The design should make clear which layer sheds bulk water, which layer air-seals, and which layer provides redundancy.
Key specification checks before selection
Not every self adhesive flashing membrane performs the same way. Products vary by adhesive chemistry, facer material, thickness, vapor permeability, flexibility, temperature limits and substrate compatibility. Specifying by roll width alone is risky because adhesion and water management depend on the full assembly.
| Check point | Why it matters | Practical question to ask |
|---|---|---|
| AAMA 711 compliance | The 2024 International Residential Code refers to AAMA 711 for self-adhered membranes used as flashing in fenestration work. | Does the product literature state compliance with the relevant AAMA 711 version and product type? |
| Substrate compatibility | Adhesives may behave differently on OSB, plywood, gypsum sheathing, masonry, housewrap, rigid foam or factory-coated sheathing. | Is primer required, optional or prohibited on the intended surface? |
| Temperature range | Cold weather can reduce initial tack, while high surface temperatures can soften some adhesives. | What are the minimum application temperature and in-service temperature limits? |
| Formability | Sill corners and curved openings may require stretchable or formable materials rather than flat tape. | Can the membrane turn corners without fishmouths, cuts or stress tears? |
| Vapor permeability | Some membranes are vapor-impermeable, which can affect drying potential in certain wall assemblies. | Does the wall design allow drying to another direction? |
| UV exposure limit | Flashing membranes are typically intended to be concealed, not left exposed indefinitely. | How long can the installed membrane remain uncovered before cladding? |
| Sealant compatibility | Some sealants and adhesives can soften, stain or lose bond when paired incorrectly. | Has the manufacturer approved the sealant and membrane combination? |
A defensible specification should reference the wall assembly, substrate, installation temperature, code requirement and manufacturer instructions together. A membrane that bonds well to clean plywood in warm weather may not behave the same way on dusty masonry, damp OSB or foil-faced insulation.
Installation logic that matters more than tape width
Installers often focus on whether the roll is 4, 6, 9 or 12 inches wide. Width matters, but it is secondary to drainage logic. A wide membrane installed in the wrong order can still create a reverse lap. A narrow membrane installed on a dirty surface may peel before cladding is complete. Good flashing work starts with sequencing, substrate condition and pressure.
- Prepare the surface. The substrate should be clean, dry enough for the selected product, structurally sound and free from frost, dust, oil and loose fibers. Manufacturer instructions should determine whether primer is required.
- Plan shingle-style laps. Lower layers should be installed before upper layers so water moving downward is directed outward, not behind the membrane.
- Build a draining sill. At windows and doors, the sill detail should collect water and allow it to exit. A back dam, sloped sill or manufactured pan may be required depending on the assembly.
- Treat corners as risk points. Non-formable membranes usually need corner patches or carefully sequenced cuts. Stretchable products must be pressed into corners without thinning or tearing.
- Use pressure, not just placement. Most peel-and-stick membranes require firm rolling to achieve full contact between the adhesive and substrate.
- Integrate the head flashing with the WRB. The water-resistive barrier above the opening should lap over the head flashing unless a manufacturer-tested system states otherwise.
- Protect the membrane before exposure limits expire. UV, construction traffic and weather can damage exposed membranes before cladding is installed.
These steps are consistent with the intent of ASTM E2112, which addresses installation practice for exterior windows, doors and skylights, and with widely used building-science details for drained openings.
How it compares with liquid-applied and metal flashing
Self adhesive membrane is one of several flashing options. It is often selected because it is familiar, quick to apply and available in many widths. It is not automatically superior to liquid-applied or metal flashing. The right choice depends on the geometry, exposure, substrate and inspection expectations.
| Flashing type | Strengths | Limitations | Typical use |
|---|---|---|---|
| Self adhesive flashing membrane | Fast installation, consistent thickness, good for straight flanges and common openings | Needs compatible substrate, correct pressure, careful corners and protected exposure | Window flanges, door jambs, sill pans, WRB transitions |
| Liquid-applied flashing | Conforms to irregular shapes, useful on rough openings and complex transitions | Requires correct wet-film thickness, cure time and weather conditions | Non-flanged openings, complex penetrations, sheathing joints |
| Metal flashing | Durable, rigid, good for drip edges and exposed water shedding | Requires bends, end dams, corrosion compatibility and sealant coordination | Head flashing, sill pans, deck ledgers, masonry transitions |
In many durable assemblies, these systems work together. A metal head flashing may shed bulk water over the cladding face, while self adhesive membrane integrates the window flange with the water-resistive barrier behind the cladding. The goal is not to use one material for every condition. The goal is to keep the drainage plane continuous. See also: Coatings.
Common failure modes to avoid
Most failures are not caused by self adhesive membrane as a product category. They usually come from incomplete integration, poor substrate preparation or unrealistic expectations about what the membrane can do.
- Reverse laps. If an upper layer slips behind a lower layer, water can be directed into the wall rather than out of it.
- Blocked sill drainage. Sealing the bottom of a window in the wrong way can trap water in the rough opening. Manufacturer instructions and the drainage concept must be reconciled before installation.
- Fishmouths and wrinkles. Raised edges can become water entry points. Corners need formable membrane, patches or another approved detailing method.
- Unapproved substitutions. Roofing underlayment, generic tape or unrelated waterproofing material may not meet fenestration flashing requirements.
- Incompatible sealants. Sealant and membrane chemistry should be checked because adhesion loss can occur at the joint that is supposed to provide redundancy.
- Overreliance on face sealant. Exterior sealant is useful, but drained wall design assumes that some water can pass the outer face and still be managed safely.
The practical lesson is straightforward: flashing is a system, not a strip of material. A self adhesive flashing membrane only performs as intended when every adjacent layer directs water to the next safe drainage point.
Code and standard context
In the United States, local adoption determines the enforceable code, so project teams should confirm the edition and amendments used by the authority having jurisdiction. Still, the 2024 model codes provide useful direction. The International Residential Code requires exterior walls to include a water-resistive barrier and flashing arranged to provide continuous water resistance behind the exterior wall covering. It also states that self-adhered membranes used as flashing shall comply with AAMA 711.
The International Building Code uses similar water-management language for exterior walls, emphasizing that flashing should prevent moisture entry or redirect moisture to the exterior or to a water-resistive barrier that is part of a drainage path. ASTM E2112 provides installation practice for windows, doors and skylights, including flashing concepts and sequencing. These documents do not replace manufacturer instructions. They frame flashing as a coordinated part of the wall assembly.
Frequently asked questions
Is self adhesive flashing membrane the same as flashing tape?
The terms are often used interchangeably on jobsites, but they are not always identical in specification language. “Flashing tape” may refer broadly to peel-and-stick strips, while “self adhesive flashing membrane” usually implies a sheet material intended for water-control detailing. For fenestration work, the important question is whether the product is approved for the application and meets the relevant performance requirements.
Can it replace a sill pan?
Sometimes it can form part of a site-built pan, but it should not be assumed to replace a pan in every condition. Door thresholds, high-exposure walls, recessed openings and commercial assemblies may need a manufactured pan, metal sill pan, back dam or liquid-applied detail. The sill must drain outward and remain durable under service loads.
Should the membrane be vapor permeable?
It depends on the wall design. Many self adhesive flashing membranes are relatively vapor-closed, which may be acceptable in small localized areas but more significant if used over large wall surfaces. Designers should consider climate, insulation ratio, interior vapor control and drying direction before selecting a vapor-impermeable membrane for broad coverage.
Can self adhesive flashing membrane be installed in cold weather?
Only within the manufacturer’s stated application range. Cold surfaces can reduce adhesion, and some products require primer or warming procedures at lower temperatures. If the surface has frost, condensation or construction dust, the membrane may appear installed but fail to bond reliably.
What is the most important detail to inspect?
The most important inspection point is continuity of the drainage path. Check that the sill can drain, jambs lap over the sill flashing, head flashing laps over jamb flashing, and the WRB above directs water over the head flashing rather than behind it. Adhesion, rolled pressure and corner treatment should be checked at the same time.