Is Liquid Rubber Waterproofing Sealant Better Than Sheet Membranes for Leak-Prone Buildings?
Why Does Liquid Rubber Waterproofing Sealant Matter in Building Protection?
On roofs, bathrooms, balconies, and foundation edges, water usually finds the awkward parts first. Liquid rubber waterproofing sealant is useful there because it can fill small gaps and cure into a continuous rubber-like film. On the Applications page, many building cases show the same problem: water does not often enter through the clean middle of a flat surface. It comes in through corners, joints, drains, screw heads, pipe sleeves, and small defects that were easy to miss.
A Seamless Film over Awkward Details
Sheet membranes work well on open, flat areas, but corners and changes in level need laps, cuts, and tapes. A liquid rubber system can be brushed, rolled, or sprayed onto the surface, so it follows curved drains, parapet returns, HVAC curbs, and balcony posts with fewer separate pieces. That is the main reason many contractors use it for repair work and detail areas where neat fitting matters.
Flexible Movement around Joints and Cracks
Buildings move a little every day, even when the movement is hard to see. Concrete shrinks, metal expands in sun, and timber framing can shift when humidity changes. Realloong application guidance on construction joints notes that sealants need to handle movement without losing adhesion. A rubber-like waterproofing layer can follow small movement better than a hard coating, as long as the joint is sized and prepared correctly.
Small Repairs Before Big Tear-Outs
A 6 a.m. drip under a flat roof drain can become a ceiling repair before lunch. Liquid-applied sealants are useful when one local detail needs treatment and the whole membrane field does not need to be removed. The leak path still has to be found first, because water can travel before it shows up inside. Painting over a wet, dirty crack is not waterproofing; it only delays the next stain.
Where Should You Use It First?
The best area for a liquid rubber product is not always the biggest area. On many jobs, it is the part with the most transitions, penetrations, and exposed edges. If a surface has many small details, a brushable or sprayable membrane can save labor and lower seam risk.
Flat Roof Penetrations and Parapets
Flat roofs take a lot of stress around vent pipes, skylight corners, gutters, and parapet bases. A liquid rubber waterproofing sealant can reinforce these points because it bonds directly to the prepared substrate. For exposed roof use, check UV resistance, ponding-water limits, and whether the system needs a topcoat. Not every rubber-like sealant is made for long sun exposure.
Bathrooms, Balconies, and Wet Rooms
Wet areas usually fail at junctions, not in the middle of the floor. Realloong bathroom waterproofing guidance treats membranes, primers, sealants, and joint treatments as one system, not as separate products. In showers, around drains, and along floor-to-wall corners, liquid rubber can be used with reinforcing fabric to make a strong, flexible band.
Foundation Edges and Positive-Side Walls
Below-grade work is harder because soil can hold water against the wall for a long time. If there is access, apply the waterproofing on the exterior side that faces water pressure. This is often called positive-side waterproofing. A liquid rubber layer may help on concrete or masonry, but drainage board, footing drains, and proper backfill still matter. Coating alone cannot fix poor site drainage. It also cannot protect a wall if water is trapped against it with nowhere to go.
How Does It Compare With Sheet Membranes and Bitumen?
No waterproofing material suits every job. Sheet membranes, bitumen coatings, cementitious slurries, polyurethane liquids, acrylic roof coatings, and hybrid polymers all have their place. The right choice depends on substrate, exposure, movement, traffic, and the skill of the installer.
Fewer Seams but More Thickness Control
A liquid rubber membrane has fewer laps than a sheet system, which is helpful around complex shapes. The weak point is thickness control. If the applicator spreads the product too thin, the cured layer may not bridge small cracks or resist water as expected. A wet-film gauge is a low-cost tool, but it can prevent costly disputes later. It also gives the buyer a simple way to check whether the work matches the specification.
Cold Application with Less Hot-Work Risk
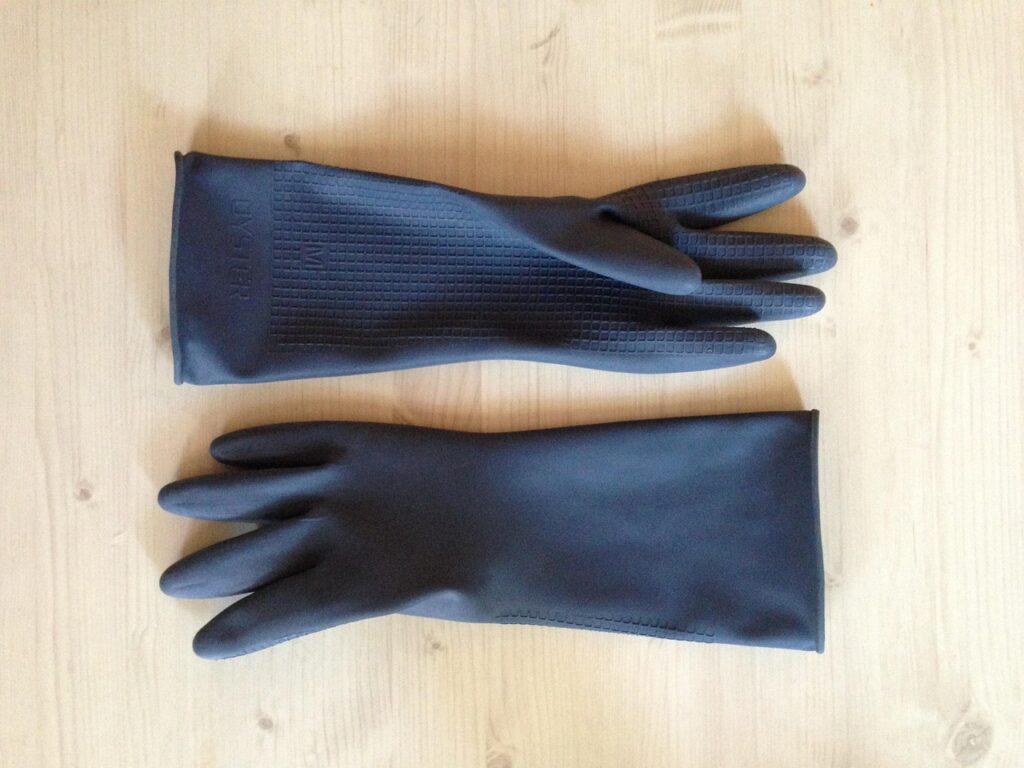
Traditional bitumen systems can be durable, but hot-applied work brings flame, kettle, and odor concerns. Many liquid rubber systems are cold-applied, so they are easier to use on occupied buildings, renovation sites, and areas near timber or insulation. You still need ventilation, gloves, eye protection, and the safety steps listed for that product. Simple application does not mean casual application.
Better Detailing on Odd Shapes
Think about a roof with twenty pipe penetrations in a ten-square-meter corner. Cutting sheet membrane collars for each pipe takes time, and every cut edge becomes a possible weak point. A liquid sealant can dress these shapes in a cleaner way. On the other hand, large smooth decks may still favor sheet membranes because factory thickness is more consistent. That is a normal trade-off, not a failure of either material.
What Makes a Liquid Rubber Sealant Last?
Most early failures come from basic site issues: dust, moisture, wrong primer, thin spots, rushed curing, or incompatible layers. The product matters, but site discipline matters just as much. A good installer treats cleaning, priming, and detailing as part of the membrane work, not as a quick clean-up task.
Clean and Stable Substrate
Concrete laitance, loose paint, rust, oil, soap residue, and old silicone can all ruin adhesion. For concrete, repair voids and let patching mortar cure before coating. For metal, remove corrosion and sharp burrs. For old roofs, check whether the existing layer is still bonded to the base. If the base moves like a loose rug, the new coating will move with it. That usually means the leak will come back.
Correct Primer and Compatible Layers
Porous concrete may need a primer to reduce suction and improve bond. Smooth metal may need a different primer. Some old asphalt, PVC, EPDM, or silicone surfaces may reject new coatings unless a manufacturer approves the build-up. Realloong sealant guidance also notes that wet-area sealants must be compatible with the waterproof membrane. That small point prevents many repair jobs from failing too early.
Curing Time Before Water Exposure
A surface can feel dry while the film below is still curing. Rain, ponding water, tile adhesive, or backfill can damage a membrane that has not reached strength. Always follow the technical data sheet for recoat time, cure time, and service temperature. In cold or damp weather, waiting longer is usually cheaper than doing the job twice. See also: Membranes.
Which Public Data Should Shape Your Waterproofing Choice?
Waterproofing is site work, but public technical sources are still useful when you compare suppliers or write a project specification. They give test language, numbers, and common reference points that are easier to discuss with contractors, buyers, and inspectors.
EPA Moisture Guidance for Mold Risk
Damp building materials are not only a stain problem; they can lead to indoor air complaints, odors, and mold growth. The U.S. Environmental Protection Agency guidance updated in 2026 states that water-damaged areas and items should be dried within 24 to 48 hours to help prevent mold growth. It also advises keeping indoor relative humidity below 60%, ideally 30% to 50%. For waterproofing work, the message is clear enough: stopping visible leaks also helps reduce hidden moisture that can damage finishes and comfort. Source: U.S. EPA, A Brief Guide to Mold, Moisture and Your Home, 2026.
FEMA Guidance for Exterior Barriers
Buildings exposed to floodwater or wind-driven rain need water control on the side where the pressure starts. FEMA floodproofing guidance for non-residential buildings describes sealants, adhered membranes, and spray-applied sealants as positive-side measures applied to the exterior surface of walls. If the outside of a foundation or wall can be reached, that side should usually be treated first. Drainage and protection layers still need to be included, because interior patches should not be the whole plan for pressure-driven water. Source: FEMA P-936, Floodproofing Non-Residential Buildings, 2018.
ASTM and Code References for Real Claims
Sales words like heavy duty or professional grade do not prove performance on a job site. ASTM D5957 covers flood testing for horizontal waterproofing installations, including liquid-applied and sheet membranes, while ASTM D6083 covers liquid-applied acrylic roof coatings. The 2024 International Residential Code also separates foundation dampproofing and waterproofing under Section R406 and calls for surface water to drain away from foundation walls. When comparing products, ask for test standards, film thickness, and approved uses instead of choosing only by color, price, or label design. Sources: ASTM International and ICC 2024 IRC.
How Should You Specify and Apply It on Site?
A useful specification makes the job clearer for the applicator and safer for the buyer. It should state the substrate, exposure, surface prep, primer, reinforcement, coating thickness, cure time, test method, and maintenance plan. That may sound formal, but it helps avoid the common site problem: nobody told me that mattered.
A Simple Substrate Checklist
Before opening the pail, look at the surface like an applicator, not like a salesperson. A dry hand, a scraper, and a simple moisture check often tell you more than a nice product label.
- Surface is dry, firm, clean, and free from loose coating.
- Cracks, holes, and sharp corners are repaired before coating.
- Primer is matched to concrete, metal, timber, or old membrane.
- Drainage slope is corrected before waterproofing, not after.
- Reinforcing fabric is ready for corners, seams, and penetrations.
Detail Work Before Broad Coats
Start with drains, inside corners, pipe sleeves, bolt heads, and upturns. These areas need extra attention because water sits there or changes direction there. Many installers embed fabric into the first wet coat, then cover it with more material. Once the details are cured or ready for the next coat, the broad field coat is easier to apply cleanly.
Inspection and Maintenance After Curing
After curing, inspect for pinholes, fish eyes, thin edges, blisters, and missed corners. For horizontal wet areas, a controlled flood test may be suitable if the project allows it and the structure can safely hold water. After handover, plan visual checks after heavy rain, roof work, plumbing changes, or new equipment installation. Small checks often catch damage before it becomes a larger repair.
FAQ
Q1: Can Liquid Rubber Waterproofing Sealant Stop Active Leaks? A: It can help with small, non-pressurized leaks after the surface is dry and stable. Do not treat it like underwater glue. Find the water source, dry the area, repair cracks, then apply the system.
Q2: Is Liquid Rubber Waterproofing Sealant Better Than Sheet Membranes? A: It is often better for corners, penetrations, and uneven details. Sheet membranes may be better for large flat areas where factory thickness and fast coverage matter more.
Q3: Can You Apply It over Old Waterproofing? A: Sometimes, but only after compatibility checks. Old silicone, loose asphalt, aged PVC, dusty coatings, and oily surfaces can cause poor adhesion. A test patch is a sensible step before full application.
Q4: How Many Coats Do You Need? A: Most liquid waterproofing systems need more than one coat. The correct number depends on the product data sheet and the required dry-film thickness. Do not decide only by color coverage.
Q5: What Is the Biggest Mistake During Application? A: Rushing surface preparation is the most common mistake. A clean, primed, dry substrate gives the sealant a real chance to bond, cure, and keep water out over time.