How to reseal basement walls and manage moisture at the source

Resealing starts with water control, not paint
To reseal basement walls effectively, start by identifying the moisture condition. Is the wall only damp, is water entering through cracks or joints, or is groundwater pressure forcing moisture into the basement? Interior sealers can reduce vapor movement and protect properly cleaned masonry, but they cannot correct poor grading, overflowing gutters, failed footing drains, or high groundwater on their own.
The practical sequence is straightforward: manage roof runoff and soil water, repair cracks and joints, dry and clean the wall, and then apply a coating or membrane suited to the actual moisture exposure. This article focuses on existing basement walls in homes and small buildings where the goal is a drier, more durable foundation space, not a cosmetic cover-up.
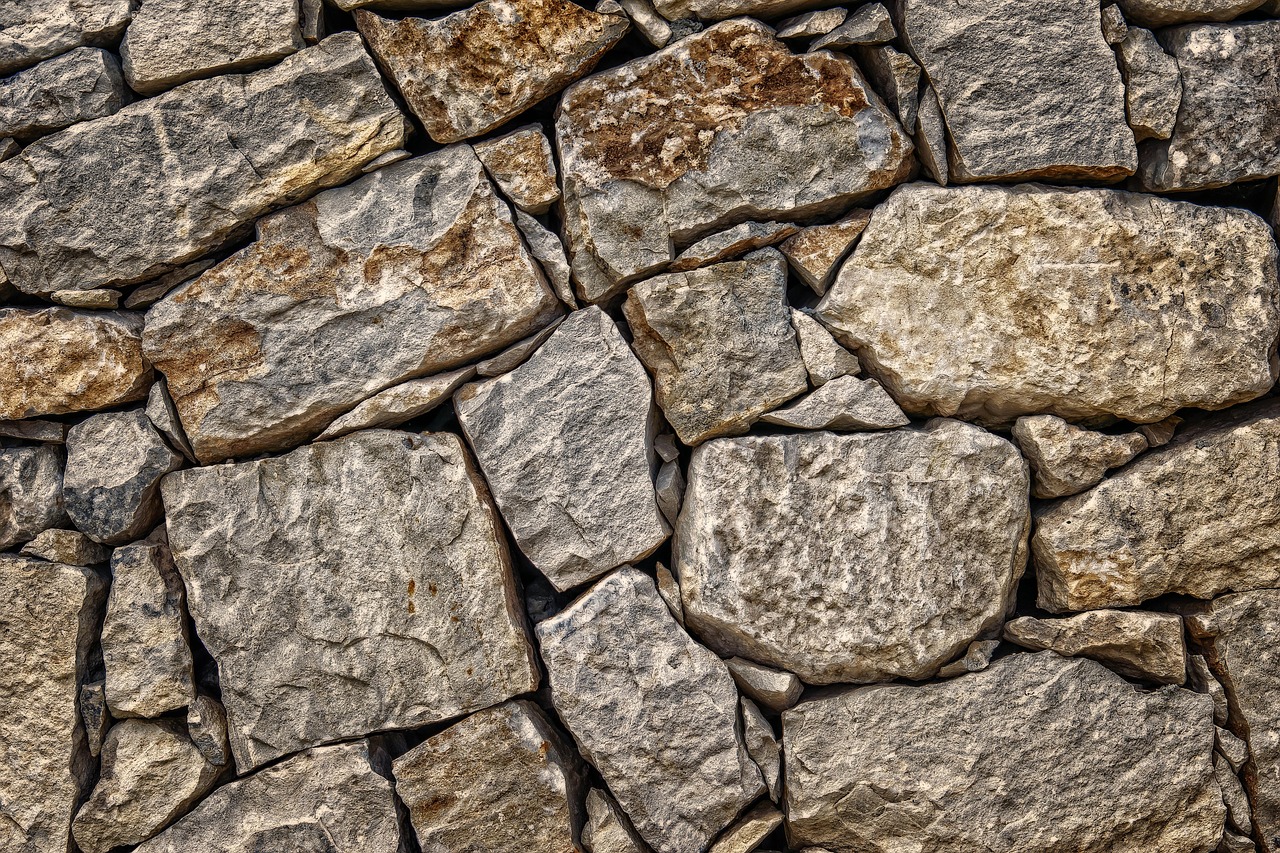
The distinction matters because a basement wall is part of a below-grade moisture system. Concrete and masonry are strong materials, but they are not automatically watertight. Water may enter as liquid through cracks, move by capillary action through porous materials, or pass as vapor that raises indoor humidity. A repair that works for one condition can fail quickly under another.
For more construction application topics, visit the Applications section.
Understand what kind of moisture you are trying to stop
Before choosing a sealer, sort the symptoms into three broad groups: surface dampness, localized leakage, and pressure-related water entry. Surface dampness may show up as darkened concrete, a musty odor, or white mineral deposits known as efflorescence. Localized leakage is easier to trace when water enters at a crack, tie hole, pipe penetration, cove joint, or cold joint after rain. Pressure-related entry is more serious and may include water rising at the floor-wall joint, seepage across long wall sections, or puddling after storms.
Building Science Corporation describes foundation bulk water control as a system that keeps rainwater away from the foundation and drains groundwater before pressure builds against the wall. For that reason, resealing should not begin with a coating alone. If soil next to the wall remains saturated, water will find the weakest path, whether that is a crack, joint, honeycombed concrete, unsealed penetration, or the cove where the wall meets the slab.
The International Residential Code also distinguishes between dampproofing and waterproofing. In broad terms, dampproofing resists ground moisture and capillary absorption, while waterproofing is used where high water table or severe soil-water conditions are known to exist. Local codes vary, but the distinction is useful for existing basements: a thin interior coating may be reasonable for minor dampness, while active water pressure usually requires drainage or exterior waterproofing measures.
Check the outside conditions before touching the inside wall
Many basement leaks start above grade. Roof runoff, clogged gutters, short downspouts, settled backfill, reverse slope near the foundation, paved surfaces that drain toward the house, and window wells without working drains can all overload the soil around a basement. If the exterior water load is not reduced, interior resealing often leads to blistering, peeling, recurring efflorescence, or leakage at another weak point.
Begin with a simple exterior inspection after rainfall, if conditions are safe. Look for overflowing gutters, water spilling behind gutters, downspouts discharging beside the foundation, low soil against the wall, mulch piled too high, and cracks where driveways or patios meet the building. Downspout extensions should discharge water away from the foundation without creating a hazard or affecting neighboring properties. Finished grade should generally slope away from the building where site conditions allow.
Below grade, drainage is harder to verify. Older footing drains may be clogged, crushed, missing, or discharging poorly. If water repeatedly enters after moderate rain even after roof runoff has been controlled, the problem may be foundation drainage rather than the wall coating. In that situation, an interior patch is likely to be temporary.
Choose the resealing method by symptom
The word “reseal” can describe several different repairs. Matching the method to the symptom is what separates a useful repair from a short-lived finish.
| Observed condition | Likely issue | More suitable response |
|---|---|---|
| Dry wall with powdery white deposits | Moisture has moved through the masonry and left minerals behind | Remove deposits, correct the moisture source, then consider a breathable masonry coating or compatible sealer |
| Small non-moving cracks with minor seepage | Localized water path through concrete or masonry | Clean and route the crack, then use hydraulic cement, polyurethane injection, or another repair compatible with the wall type |
| Water at the floor-wall joint | Hydrostatic pressure or drainage failure near the footing | Investigate exterior drainage, footing drains, sump performance, or interior drainage systems before coating |
| Peeling paint or blistered coating | Moisture trapped behind a low-permeance finish | Remove failed coating, dry the wall, reduce the water load, and avoid repeating the same impermeable finish without diagnosis |
| Wide, stepped, or changing cracks | Possible structural movement or settlement | Consult a qualified foundation professional before sealing |
For poured concrete walls, polyurethane crack injection is often used where cracks leak because the material can expand and seal irregular voids. Epoxy injection may be considered where structural bonding is the goal, but it is not the default answer for every wet crack. With concrete masonry unit walls, water may travel through block cores and mortar joints, so the visible crack may not be the only path. Stone and rubble foundations require extra caution because they often need to dry inward; trapping moisture behind a hard, impermeable coating can damage old mortar.
Prepare basement walls so the new sealer can bond
Surface preparation is one of the most common failure points when resealing basement walls. A coating applied over dust, salts, old paint, mold, oil, loose mortar, or damp patches is likely to fail. Preparation should be methodical, clean, and compatible with the wall material.
- Remove stored items and inspect the full wall. Moisture patterns often hide behind shelving, insulation, paneling, or furniture. Do not reseal over concealed mold or wet finishes.
- Strip loose coatings. Scrape, brush, or grind failed paint and previous coatings as needed. Follow dust-control safety practices, especially in older buildings where coatings may contain hazardous materials.
- Clean efflorescence. Dry brushing and vacuuming are usually the first steps. If cleaning products are used, follow the manufacturer’s instructions and rinse residues that could interfere with bonding.
- Repair mortar and defects. Repoint deteriorated masonry joints, patch honeycombed concrete, and seal non-structural gaps around pipes or sleeves with appropriate materials.
- Let the wall dry. Many coating systems require a specific moisture condition. Some cementitious waterproofing products are applied to damp masonry, while paints and sealers may require a dry surface.
The U.S. Environmental Protection Agency advises that mold control depends on fixing the water or moisture problem. It also cautions against painting or caulking moldy surfaces. In practical terms, if the wall has visible mold or a persistent mold odor, cleanup and moisture correction should come before any decorative or protective coating.
Apply interior sealer with realistic expectations
Interior sealers can be useful when the wall has minor dampness and the exterior water load has been reduced. Common categories include cementitious waterproofing coatings, masonry water repellents, silicate densifiers, elastomeric coatings, and vapor-retarding paints. Each category has limits.
Cementitious coatings are often used on bare masonry because they bond mechanically and can tolerate mineral substrates. They usually require careful mixing, wetting, brushing into pores, and multiple coats. Silicate densifiers react within concrete to reduce dusting and porosity, but they are not a substitute for crack repair or drainage. Elastomeric coatings can bridge small surface imperfections, yet they may blister if water pressure develops behind them. Standard latex paint may improve appearance, but it should not be treated as a waterproofing system. See also: Membranes.
Follow the product manufacturer’s instructions for surface moisture, temperature, film thickness, recoat time, and curing. More material is not always better. Heavy or uneven coats can skin over, trap moisture, or cure poorly. Edges and transitions also need attention: corners, cold joints, penetrations, and the cove joint often require compatible patching or detailing before the main wall coating is applied.
Do not rely on interior coatings to resist structural movement. If cracks widen, stair-step through masonry, show displacement, or appear with bowing walls, sealing should stop until the movement is evaluated. A coating can hide warning signs without addressing the cause.
When exterior waterproofing or drainage is the better repair
Exterior work is more disruptive, but it is often the more durable approach when water is pressing against the foundation. Exterior excavation can expose the wall for crack repair, membrane installation, drainage board, free-draining backfill, footing drain repair, and protection layers. Because excavation near foundations can be hazardous and may affect utilities, shoring, access, landscaping, and structural stability, this work is usually not a casual do-it-yourself project.
A robust exterior repair typically addresses three functions. First, it sheds surface water away from the building. Second, it provides a water-resistive or waterproof layer on the outside of the foundation wall. Third, it gives groundwater a path down to a drain before pressure builds against the wall. Building science guidance consistently emphasizes that drainage and pressure relief are central to foundation water management; the membrane is only one part of the system.
Interior drainage systems are another option when exterior excavation is impractical. These systems generally intercept water at the perimeter and direct it to a sump. They may control visible water, but they do not make the exterior wall dry. That distinction matters in finished basements because framing, insulation, and wallboard should not be installed against a foundation that still has unmanaged moisture.
Finishing after resealing requires moisture-tolerant choices
After the wall is repaired and sealed, avoid rebuilding in a way that traps future moisture. Basement finishes should assume that some moisture risk remains. Materials that touch concrete or masonry should tolerate dampness, and wall assemblies should allow drying where appropriate. Avoid installing interior polyethylene vapor barriers directly over framed basement walls unless the assembly has been designed for that condition, because impermeable layers can trap moisture.
For finished basements, keep inspection access to sump pumps, cleanouts, valves, and areas where leakage has occurred before. Consider a dehumidifier if indoor humidity remains high. The EPA generally recommends moisture control as the foundation of mold prevention, and in a basement that often means combining drainage, air sealing, ventilation, and humidity management rather than depending on one coating.
After resealing, monitor the wall through at least one wet season. Check after heavy rain, rapid snowmelt, and long humid periods. A wall that stays dry through different weather conditions gives stronger evidence that the moisture source has been reduced. If mineral deposits, peeling, damp odors, or leaks return, treat them as diagnostic information rather than simply applying another coat.
Frequently asked questions
Can I reseal basement walls from the inside only?
Sometimes, but only under limited moisture conditions. Interior resealing can help with minor dampness, surface porosity, or localized repairs after exterior water sources have been reduced. If water is entering because of hydrostatic pressure, high groundwater, failed footing drains, or saturated soil, an inside coating alone is unlikely to be durable.
Should I remove old basement wall paint before resealing?
Yes. Remove loose, peeling, blistered, or chalky paint before applying a new sealer. Many masonry coatings require direct contact with bare concrete or masonry. If the old coating is well bonded, the new product still must be compatible with it, so the manufacturer’s preparation requirements matter.
What is the difference between dampproofing and waterproofing?
Dampproofing limits moisture absorption and capillary dampness. Waterproofing is intended for more severe water exposure, such as high water table or known soil-water conditions that can place pressure on below-grade walls. For existing basements, this distinction helps set expectations: a dampproofing-style coating is not the same as a drainage and waterproofing system.
Is efflorescence a reason to reseal immediately?
Efflorescence shows that moisture has moved through masonry and carried salts to the surface. Clean it off, but also find the moisture source. If the source remains, salts can return and push coatings away from the wall.
When should a professional evaluate the basement wall?
Get a professional evaluation when cracks are wide, stepped, displaced, growing, or paired with bowing walls; when water enters repeatedly after drainage improvements; when sewage or contaminated water is involved; or when mold covers a large area. Professional input is also appropriate before excavation, sump changes, structural repairs, or finishing a previously wet basement.