Is Bathroom Tiling and Waterproofing the Secret to a Bathroom That Lasts?
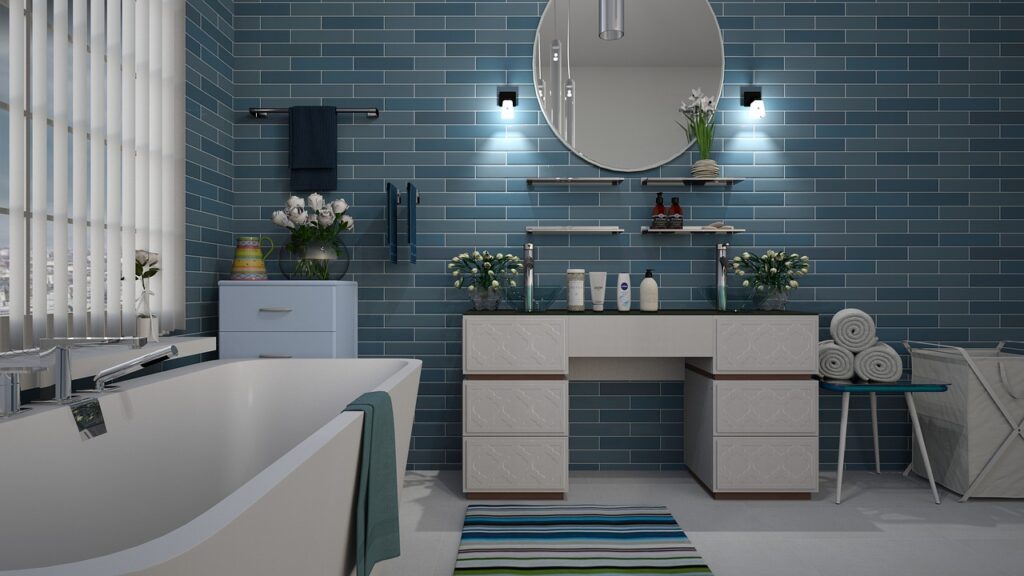
Bathroom tiling and waterproofing need to be planned as one system. Tile gives the room its finish, but the waterproof layer behind it is what keeps water away from framing, boards, insulation, and the floor below after years of showers, steam, splashes, and cleaning.
For builders, contractors, and project buyers checking wet-area construction methods, these details should be settled before site work starts. You can review more building use cases through Applications, then use this guide as a jobsite checklist for bathroom tile work where water is part of daily use.
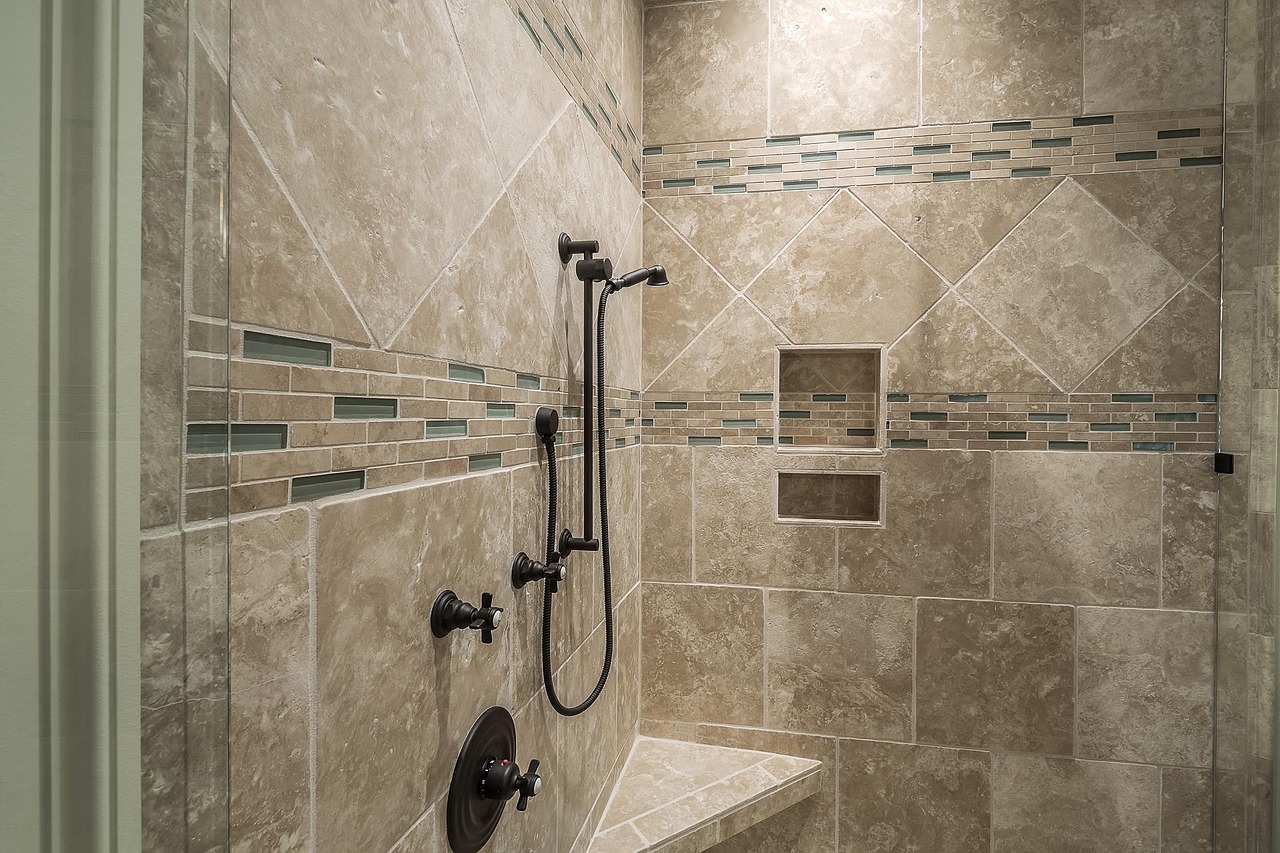
Why Does Bathroom Tiling and Waterproofing Matter More Than the Tile You See?
A bathroom can look clean at handover and still fail later. The reason is usually not the tile face. Grout, tile, and trim are easy to see, while the waterproofing is covered. Once water gets past the finish layer, repair often means removing good tile just to reach the failed part below.
Tile Is a Finish, Not a Water Barrier
Ceramic and porcelain tiles handle surface water well, but a tiled wall is not waterproof by itself. Grout joints, corners, pipe holes, drains, niches, and wall-to-floor joints all leave places where water can get in.
Even dense tile can pass moisture through the joint network over time. That is why a proper tile assembly uses a continuous waterproofing layer behind or directly under the tile. The membrane does the water control work, not the visible tile face.
Bathrooms Create Daily Moisture Loads
A family bathroom may run several hot showers in one morning. A hotel bathroom may go through many wet and dry cycles in a single day. Water moves as splash, vapor, condensation, and small leaks around fittings.
The U.S. EPA says in its indoor air guidance that indoor relative humidity should stay below 60%, with 30% to 50% as the better range, because high moisture can support mold and other indoor air issues. This does not mean a bathroom must be dry every minute. It means water needs a planned path into the drain, out through ventilation, or stopped by a proper membrane before it reaches the structure.
Bad Waterproofing Hides Before It Fails
The first signs are often small. A dark grout line near the curb, a musty smell after showers, swollen baseboard outside the bathroom, or a stain on the ceiling below can mean water has already moved through the assembly.
At that stage, the tile surface may still look normal. This is why waterproofing should be checked before tile covers it. A neat tile layout cannot fix a shower pan with poor slope, open corners, or a loose drain connection. It is like painting over rust; the surface looks better, but the problem keeps going.
What Should a Waterproof Bathroom Assembly Include?
A sound wet-area assembly uses layers that work together. Substrate, membrane, mortar, tile, grout, sealant, and drain parts all need to be part of the same system or approved for use together. Random product mixing may look fine on site, but it can leave gaps when something fails.
A Stable, Clean Substrate
The substrate should be flat, firm, and suitable for wet areas. Cement backer board, approved foam panels, masonry, and properly prepared mortar beds are common options, depending on the design and project spec.
Standard drywall should not be used as a direct substrate inside true wet zones unless a recognized method and local code allow it. Before waterproofing, dust, loose mortar, oil, and sharp high spots should be removed. If the wall or floor moves, the tile and membrane will be stressed. A loose board joint before waterproofing will not become sound after tile is installed.
A Continuous Waterproof Membrane
Sheet membranes, liquid-applied membranes, and some waterproof boards can all work when they are installed the right way. The main point is continuity. The membrane must cover the wet zone without breaks.
Overlaps, seams, corners, and fastener points need to follow the product instructions. ANSI A118.10, published as part of the ANSI A108/A118/A136.1 tile standards, covers load-bearing, bonded waterproof membranes for thin-set ceramic tile and dimension stone installations. In jobsite terms, the membrane should be rated for the tile assembly being built, not taken from another trade just because it looks waterproof.
Protected Corners, Penetrations, and Drains
Failures often start where one surface meets another. Inside corners, outside curbs, pipe penetrations, valve openings, benches, shelves, and drain flanges need careful sealing.
Preformed corners and sealing collars are not decorative add-ons in many showers. They are simple risk control. The drain connection also needs a close check. A sloped floor only works if the waterproof layer ties into the drain in a watertight way. For linear drains, the line must be straight, stable, and matched to the membrane system. For point drains, the slope must reach the drain from all sides without birdbaths.
Which Standards and Public Data Should Guide the Work?
Good bathroom construction should not rely on guesswork. It should follow public health guidance, plumbing code rules, and tile industry standards. Local code and project specs still control the work, but the references below help buyers and site teams ask better questions before approving a method.
EPA Moisture Control Guidance
The U.S. EPA’s Care for Your Air guidance, available in 2025 and accessed in July 2026, recommends bathroom and kitchen fans that exhaust outdoors to remove moisture and pollutants. It also gives the 30% to 50% indoor humidity range noted earlier.
The site lesson is straightforward. Tiling and waterproofing should not carry the full moisture load on their own. Ventilation, slope, drying time, and easy cleaning all help the bathroom last. A shower with no working fan may still look high-end, but it starts each day with extra moisture in the room.
CDC Drying Time Advice
The CDC’s mold cleanup guidance says wet materials should be dried within 24 to 48 hours when possible. It also says materials that cannot be fully cleaned and dried may need removal.
That guidance is written for water-damage cleanup, but it is still useful for bathrooms. If a tile assembly traps moisture day after day, it can create a hidden damp area on a smaller scale. A bathroom should drain and dry between uses. Wet spots that stay wet are not normal, even if someone says it is just a shower.
ICC, ANSI, and TCNA Tile Rules
The 2024 International Plumbing Code section on shower linings states that liners should be pitched one-fourth unit vertical in 12 units horizontal, a 2% slope, toward the fixture drain. This equals about 1/4 inch per foot.
The code also requires the liner to form a watertight joint at the outlet. The Tile Council of North America lists recognized shower methods, including methods where a waterproof membrane is applied over solid backing. Together with ANSI A118.10 membrane performance, these references point to one practical rule: choose the waterproofing layer, slope, drain, and tile setting method as a system.
How Should You Plan Tile Layout Before Waterproofing Starts?
Tile layout is not only about appearance. It affects slope, cuts, grout joint size, drain position, niche alignment, and edge protection. If the layout is drawn after waterproofing, installers may end up making awkward cuts or patching around details that should have been planned earlier.
Drain Location and Slope
The drain should be placed on the plan before the shower floor is built. A centered point drain often needs a four-way slope. A linear drain can allow a single-plane slope, which helps when larger format tile is used.
Both drain types need the waterproof layer to slope correctly, not just the tile face. For a 60-inch shower run, a 1/4 inch per foot slope gives about 1.25 inches of height change across five feet. That affects curb height, entry design, door clearance, and the height of nearby bathroom flooring. It is better to solve that in the drawing than with a grinder at the end of the job. See also: Membranes.
Movement Joints and Edge Details
Bathrooms move a little over time. Framing shifts, temperature changes, and wet areas expand and contract. If every change of plane is filled with hard grout, cracking is more likely.
Industry practice commonly uses flexible sealant at wall-to-wall, wall-to-floor, and tile-to-fixture transitions where movement is expected. Edges also need protection. Outside corners, shower curbs, niche returns, and tile ends should be finished with suitable profiles, bullnose pieces, or clean cuts. A sharp exposed edge catches cleaning cloths and makes the job look low grade, even when the tile itself is costly.
Tile Size, Grout Width, and Slip Feel
Large tiles reduce grout lines, and many owners prefer that look. On shower floors, though, very large tile can be difficult to shape toward a point drain. Small mosaics follow slope more easily and give more grout texture underfoot.
The tradeoff is that mosaics add many joints, and those joints need proper filling. For wet floors, choose tile with slip resistance that suits the project type. Public data changes by product and test method, so one universal number can be misleading. If the tile supplier does not publish reliable test values, ask for product documentation before approval.
What Mistakes Cause Most Wet Bathroom Problems?
Most bathroom failures do not look serious on the first day. They start with small shortcuts, such as a missed corner patch, a fastener set too low on a curb, a membrane applied too thin, or a shower put into use before materials have cured. A basic checklist can prevent many of these problems.
Mixing Incompatible Systems
Combining a liquid membrane from one brand, a drain from another, random sealant, and a board with unknown coating can leave the installer without a clear method. Some mixed systems can work, but they should be checked against manufacturer instructions or written technical support.
For showers, one complete system is often easier to manage, especially on commercial or export-related projects where documents matter. It also makes training simpler. Installers can follow the same steps each time instead of making a decision at every seam.
Skipping Flood Tests and Cure Times
A flood test can show leaks before tile hides them. Local practice varies, but shower receptors are commonly tested before tile installation. The installer also needs to follow membrane cure time, minimum film thickness for liquid products, and drain connection details before testing.
Rushing this stage may save a day, but it can cost weeks later. If a membrane maker says the product needs a set curing period before flood testing or tile setting, that time is part of the installation. It is not a loose suggestion.
Piercing the Membrane After Tile Starts
Accessories can create quiet leak paths. Glass channels, shower seats, grab bars, robe hooks, and door hardware may be installed after tile, and each screw can cross the waterproofing if the fixing method is not planned.
Backing, mounting points, and accessory systems should be decided early. For grab bars or seats, structural support behind the wall is needed before the board goes up. Do not leave the last trade on site to choose hole locations with a drill and no sealing plan.
How Can You Check Quality Before You Close the Job?
You do not need to be a tile setter to spot many problems before completion. What you need is a check at the right stages: substrate, waterproofing, flood test, tile setting, grouting, sealing, and handover. Photos are useful, especially after the membrane is covered and no longer visible.
Pre Tile Inspection Points
Check that the substrate is approved for wet use, seams are treated, corners are sealed, and the membrane reaches all required wet zones. Look closely at niches, benches, curbs, pipe holes, and drain transitions.
These areas should look planned, not patched at the last minute. Ask for product names and installation instructions. If no one can name the membrane or explain how it connects to the drain, stop and clarify it before tile starts. That short pause may be the lowest-cost quality control step on the project.
Simple Site Tests
A slope check with a level, a flood test where required, and a review of wet-film or dry-film thickness for liquid membranes can catch issues while they are still visible. For liquid products, specified thickness matters because a coat that is too thin may not perform as tested.
Tile setting coverage also matters in wet areas. Floors and large format tile need proper mortar contact. Hollow spots near drains and edges can lead to cracks, loose tile, or grout breakdown after regular use.
Maintenance After Handover
A waterproof bathroom still needs normal care. Run the exhaust fan during and after showers, keep drains clear, repair cracked sealant, and watch for damp smells that do not go away.
Cleaning should remove soap film without damaging grout or sealant. The National Association of Home Builders reported in 2026 that bathroom remodels remained among the most common remodeling projects, with bathroom remodels cited as a common job by 65% of remodelers in its 2024 reporting. That level of activity shows how often bathrooms are rebuilt, but better waterproofing helps avoid rebuilding the same room twice.
FAQ
Q1: Is Tile Grout Waterproof? A: No. Grout may resist water, especially when sealed or made with advanced formulas, but it should not be treated as the main waterproof layer. A proper membrane is still needed in wet areas.
Q2: How Far Should Bathroom Waterproofing Extend? A: It depends on the bathroom type, local code, and product system. Showers need full waterproofing in the receptor and wet walls. Curbless showers and wet rooms often need waterproofing beyond the shower footprint.
Q3: Can Large Format Tile Be Used on a Shower Floor? A: Yes, but the drain design matters. Large tile works better with a linear drain or a carefully planned single-plane slope. Small mosaics are often easier around point drains.
Q4: Should a Shower Pan Be Flood Tested Before Tiling? A: In many projects, yes, and local code or project specs may require it. Flood testing helps find leaks before tile makes repair harder and more expensive.
Q5: What Is the Biggest Warning Sign After Installation? A: Persistent damp smell, staining below the bathroom, loose tile, swollen trim, or grout that stays dark long after use can all point to trapped moisture. Check the cause early instead of covering it with caulk.