How Can Waterproofing Stop Costly Water Damage in Buildings?
Why Does Waterproofing Matter Before Water Shows up?
Waterproofing is easier to judge before a ceiling stain appears. For contractors, developers, and buyers comparing waterproofing applications, the main job is clear: keep water out of the structure, move unavoidable moisture away, and protect the finishes people use and see every day. A sound system is not just one product from a bucket. It is a working plan with membranes, sealants, slope, drainage, matching layers, and routine checks.
Water Moves Through Weak Details
Concrete, tile, brick, and metal panels can look solid, but water gets into laps, pinholes, cracks, pipe penetrations, and cold joints. That is why site waterproofing should start with details, not only the open surface. A balcony slab can have a clean coating in the middle and still leak at the door threshold. A basement wall may be coated well, but the footing joint can still let water in. Realloong application guidance also notes that joint sealants work as the first defense against moisture in façades, roofs, bathrooms, and structural joints.
Moisture Damage Starts Fast
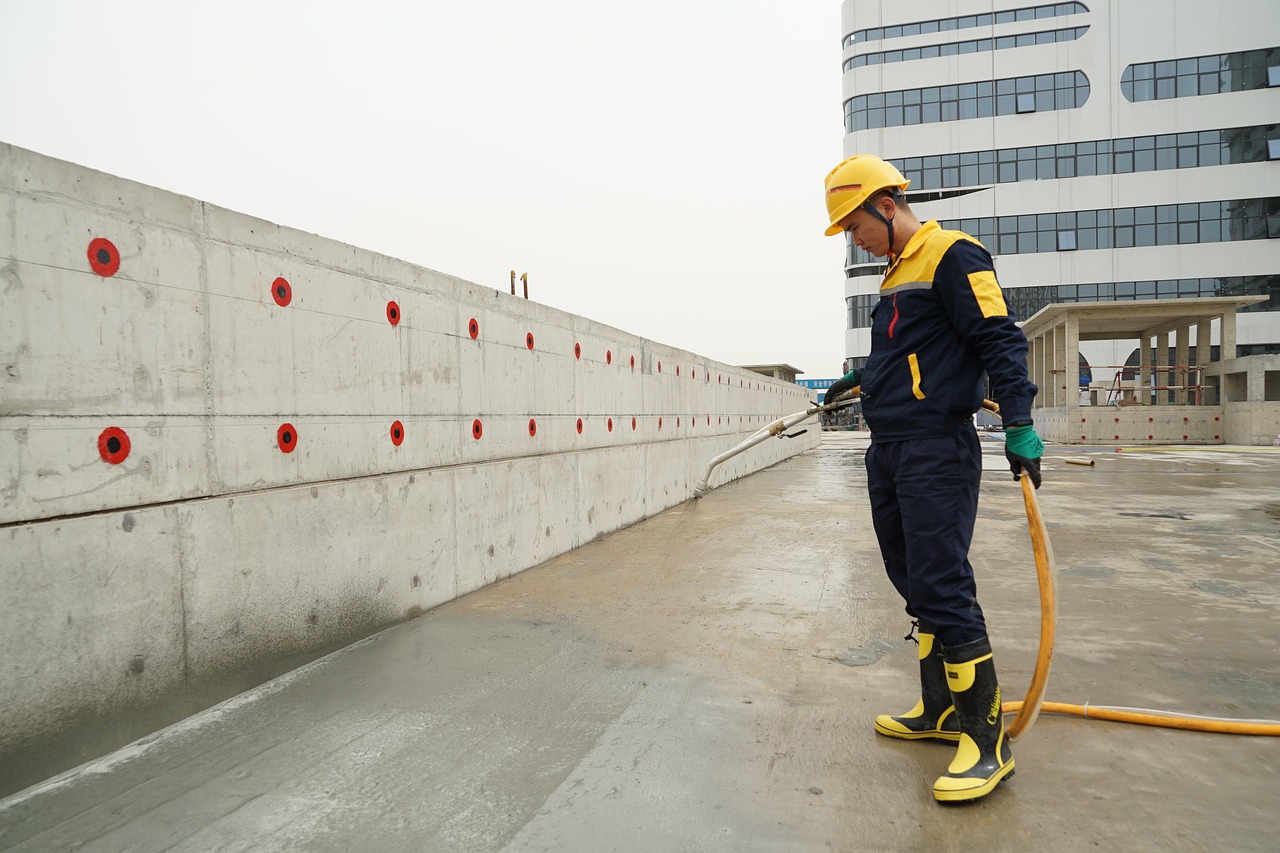
The U.S. Environmental Protection Agency says in its mold and moisture guidance, updated in 2026, that water-damaged areas and items should be dried within 24 to 48 hours to help prevent mold growth. That short time frame matters on job sites and in occupied buildings. If drywall backing, timber framing, insulation, or floor underlayment stays damp, the visible damage may show up later, but the moisture issue has already started.
Small Leaks Become Business Problems
Water damage is not unusual. The Insurance Information Institute, using ISO and Verisk homeowners insurance claim data for 2019 to 2023, reports that about one in 67 insured homes had a property damage claim caused by water damage or freezing. It also lists water damage and freezing at about 1.5 percent of insured homes with that type of loss. The data is from residential claims, but the point also fits commercial projects: water intrusion happens often enough to be handled at design stage, not only after a complaint.
Where Should You Waterproof First?
Start where water exposure is regular, where later access is difficult, and where one failure can spread into other rooms or floors. Some areas face direct rain. Some get wash water every day. Others sit against groundwater pressure even when the weather is dry. Rank the project by risk first, then choose the waterproofing system.
Roofs and Parapets
Low-slope roofs, terraces, parapet caps, HVAC curbs, scuppers, skylights, and drain bowls need careful waterproofing because they take rainwater and building movement at the same time. Ponding water keeps pressure on seams for longer than many people expect. Wind-driven rain can also get behind coping when laps are not done properly. For a roof, do not judge the work only by the main membrane area. Check upstands, terminations, flashing, and sealant joints, because those edges often decide whether the roof stays dry.
Bathrooms and Wet Rooms
Tiles are finish materials. They are not waterproofing on their own. Grout joints, corners, shower niches, floor drains, and pipe sleeves need a sealed layer under the visible finish. Realloong bathroom guidance notes that an effective wet-area system creates a waterproof surface below finishes and appliances. On real projects, one small gap around a drain flange can ruin a good tile job. It is not a fancy detail, but it is often where the leak starts.
Basements and Retaining Walls
Below-grade work leaves less room for error because the membrane is often covered after construction. Once backfill is in place, checking and repair become slower and more expensive. The Whole Building Design Guide by the National Institute of Building Sciences recommends several connected steps for basements and crawl spaces: seal below-grade walls, use vapor retarders and capillary breaks, install drains and sumps, send downspouts away from the building, and slope the grade away from the foundation. This system approach works better than relying on one coating by itself.
Which Waterproofing System Fits Each Application?
The right waterproofing system depends on movement, water pressure, exposure, access, and the substrate. A product that works on a balcony may not suit a blind-side foundation wall. A sealant that works around windows may not be right for constant immersion. Before selection, ask what water the area will face: rain splash, standing water, vapor, cleaning water, or hydrostatic pressure.
Liquid Applied Membranes
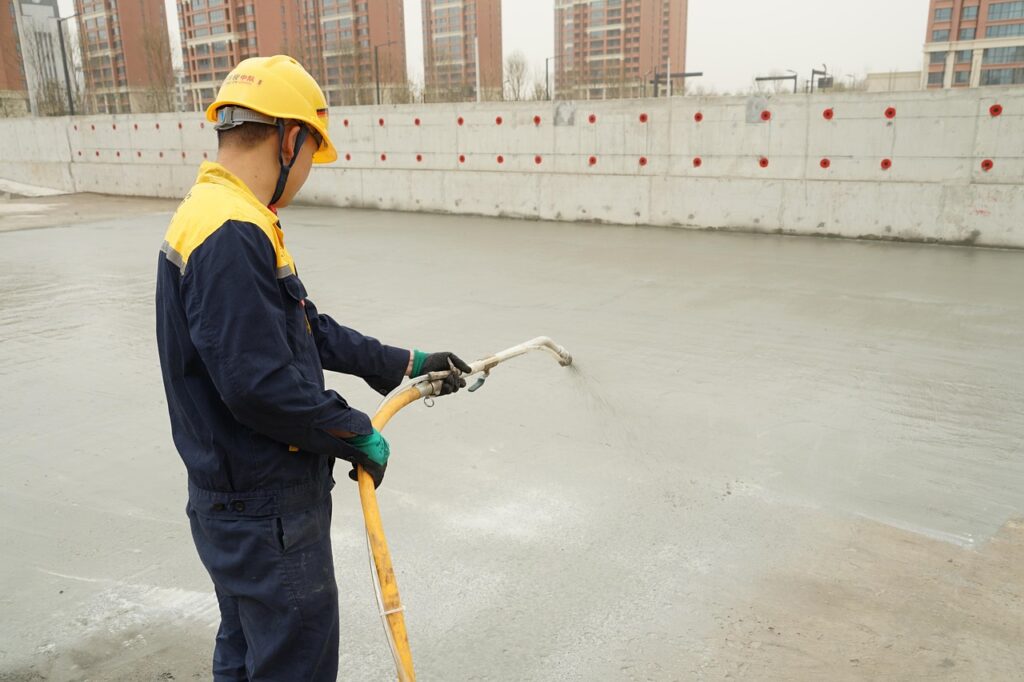
Liquid applied membranes fit complex shapes, corners, pipe penetrations, and refurbishment work because they form a seamless layer when applied at the correct thickness. They are often used in bathrooms, balconies, roof details, and uneven concrete areas. The practical point is simple: film thickness, curing time, surface moisture, and weather conditions must follow the technical data sheet. A thin coat may look tidy, but it may not have enough strength for service.
Sheet Membranes
Sheet membranes provide factory-controlled thickness, which helps on foundations, podium decks, tunnels, and large flat areas. They need proper laps, protected edges, and good termination details. On below-grade concrete, protection boards or drainage layers often help prevent damage during backfill. If the wall has many steps, offsets, or unusual penetrations, sheet detailing becomes more difficult. In that case, the installer’s workmanship matters as much as the membrane itself.
Sealants and Joint Details
Sealants protect movement joints, façade joints, window perimeters, roof penetrations, and transitions between different materials. They need to bond to the substrate and remain flexible through temperature movement. Realloong joint sealant guidance points out compatibility with waterproof membranes, especially in roofs and wet areas. This gets missed on some jobs. A strong sealant can still fail early if it does not work well with the membrane, primer, or old residue left in the joint.
How Do You Prepare Surfaces for Better Bond?
Many waterproofing failures blamed on the product actually begin with surface preparation. Dust, laitance, curing compounds, oil, trapped moisture, and loose mortar all reduce bond. If the surface is not ready, higher-cost material just becomes an expensive cover layer. Preparation takes time, but it costs less than opening a finished wall months later.
Clean and Dry Substrates
Before applying a membrane or sealant, the substrate should be stable, clean, and suitable for the selected system. Porous concrete may need grinding, patching, or drying. Metal may need rust removal. Old joints may need full removal of failed material, not just a new bead over the top. Realloong guidance notes that dust or oil can reduce the bond between primer and membrane. That small line in a site method statement can decide the final result.
Primers and Compatible Materials
Primers help many systems bond to porous or difficult surfaces, but they are not a fix for every problem. Use the primer recommended for that membrane, that sealant, and that substrate. Check compatibility where polyurethane, silicone, bitumen-modified materials, cementitious coatings, and sheet membranes meet. Mixed brands can work, but only when the technical documents allow the combination. If there is no reliable data for a combination, treat it as unconfirmed and ask the supplier for written confirmation.
Drainage and Slope
Waterproofing should block water, but drainage reduces the load on the waterproof layer. Roofs need working drains and correct falls. Balconies need drip edges. Foundations need drain boards, footing drains, and backfill that does not hold water like a sponge. FEMA floodproofing guidance also separates dry floodproofing from wet floodproofing and requires certified dry floodproofing for certain non-residential buildings in mapped A Zones under NFIP rules. In simple site terms, water management has to match the risk level. See also: Membranes.
What Common Installation Mistakes Cause Failure?
Waterproofing does not usually fail in a big way on the first day. It often fails because several small site choices go wrong together: cure time is rushed, corner tape is missed, a drain is blocked, another trade cuts the membrane, or a joint is filled too deep. The fix is normal site control and clear responsibility, not long wording in a report.
Ignoring Movement
Buildings move. Concrete shrinks, steel expands, façades shift with temperature, and decks flex under load. If the waterproofing layer cannot stretch, or if a joint is locked solid, cracking will follow. Movement joints need the correct width, depth, backer rod, primer, and sealant type. A useful site rule is this: do not treat a moving joint like a static crack.
Leaving Penetrations Weak
Pipes, sleeves, anchors, drains, rail posts, vents, and cable entries are common leak paths. They need collars, reinforcement, sealant, clamps, or prefabricated boots based on the system being used. A common balcony issue is a railing post fixed through a finished membrane without proper sealing. It may look fine at handover, but the ceiling below can show the problem later. Waterproof first, then coordinate fixings, not the other way around.
Skipping Inspection
Inspection should be done before the waterproofing is covered. Flood testing, spark testing, electronic leak detection, moisture meter checks, and visual review can find defects while access is still open. The Whole Building Design Guide discusses integrity testing for roofing and waterproofing membranes, which supports this type of site check. Do not wait until tiles, screeds, backfill, or pavers hide the membrane. Once it is hidden, every repair takes more time and money.
How Can You Maintain Waterproofing Over Time?
Even a well-installed system needs maintenance. UV exposure, cleaning chemicals, building movement, foot traffic, freeze-thaw cycles, and accidental cuts can all change performance over time. Maintenance is not complicated. Keep water paths clear and repair weak points before they become claims.
Scheduled Checks
Inspect roofs, drains, gutters, sealant joints, balcony edges, wet-room corners, and basement sump systems on a set schedule. After heavy storms, check roof drains and parapet areas. In bathrooms and commercial kitchens, look for cracked grout, loose sealant, lifted floor edges, and stains on nearby walls. Realloong bathroom guidance notes that some liquid coatings exposed to daily cleaning chemicals may need reapplication after 5 to 10 years, depending on use and environment.
Moisture Testing
Moisture meters, infrared thermography, and controlled inspection openings can help find damp areas that are not visible. The EPA also recommends keeping indoor relative humidity below 60 percent, ideally between 30 and 50 percent, to limit mold risk. That figure is not a waterproofing product claim. It is building operation guidance, and it shows why waterproofing and ventilation often need to work together.
Repair Before Replacement
Not every leak means the whole system needs replacement. If the membrane is generally sound, a focused repair at a drain, joint, flashing, or penetration may solve the problem. If adhesion is poor over large areas, water is trapped under the layer, or the wrong material was used, replacement may be the safer route. The better decision comes from testing, opening small areas where needed, and recording what actually failed.
FAQ
Q1: Is Waterproofing the Same as Damp Proofing? A: No. Damp proofing resists moisture vapor or minor ground dampness, while waterproofing is designed to resist liquid water. Areas with hydrostatic pressure, wet rooms, roofs, and decks usually need a true waterproofing system.
Q2: Can You Rely on Tiles to Waterproof a Bathroom? A: No. Tiles and grout are finishes. The waterproof layer should sit below them, especially at shower floors, wall corners, niches, pipe sleeves, and drains.
Q3: How Often Should Waterproofing Be Checked? A: Check visible areas at least once a year and after major storms. Wet rooms, roof drains, basements, and exterior joints may need more frequent checks in high-use or high-rain locations.
Q4: What Is the Most Common Reason Waterproofing Fails? A: Poor detailing is a common reason. Corners, joints, penetrations, terminations, and transitions fail more often than the open field of the membrane.
Q5: Should You Choose Liquid or Sheet Waterproofing? A: Choose by application. Liquid systems suit complex shapes and details. Sheet systems suit large areas where controlled thickness matters. For critical projects, use the manufacturer’s data and local code requirements before final selection.